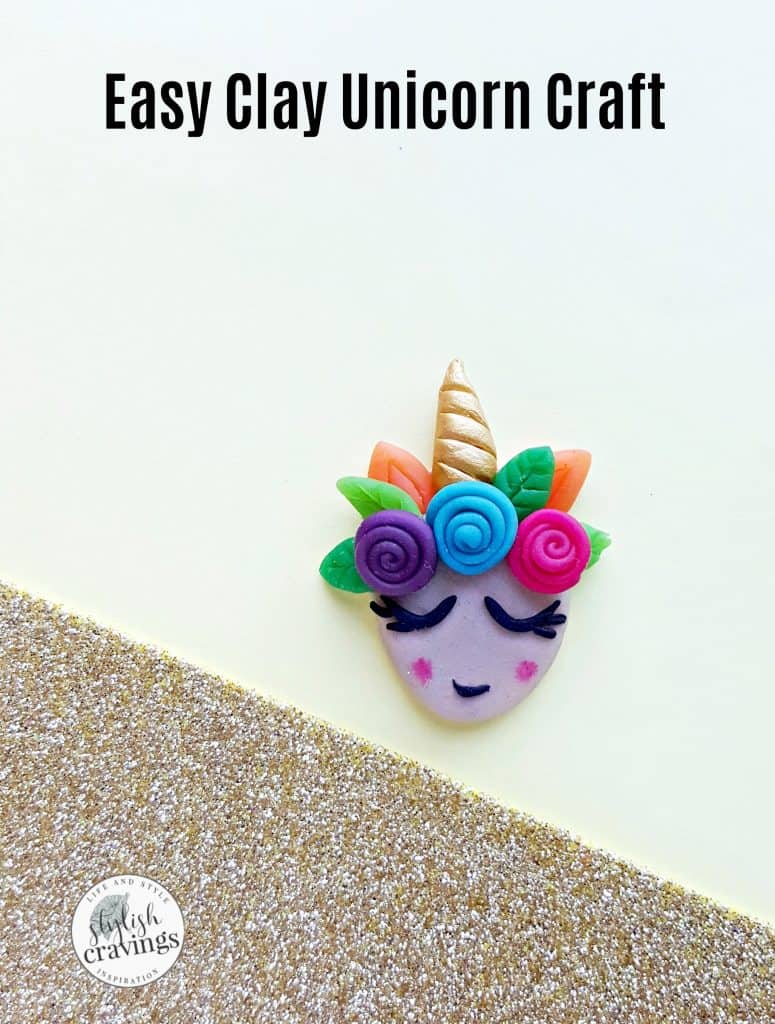
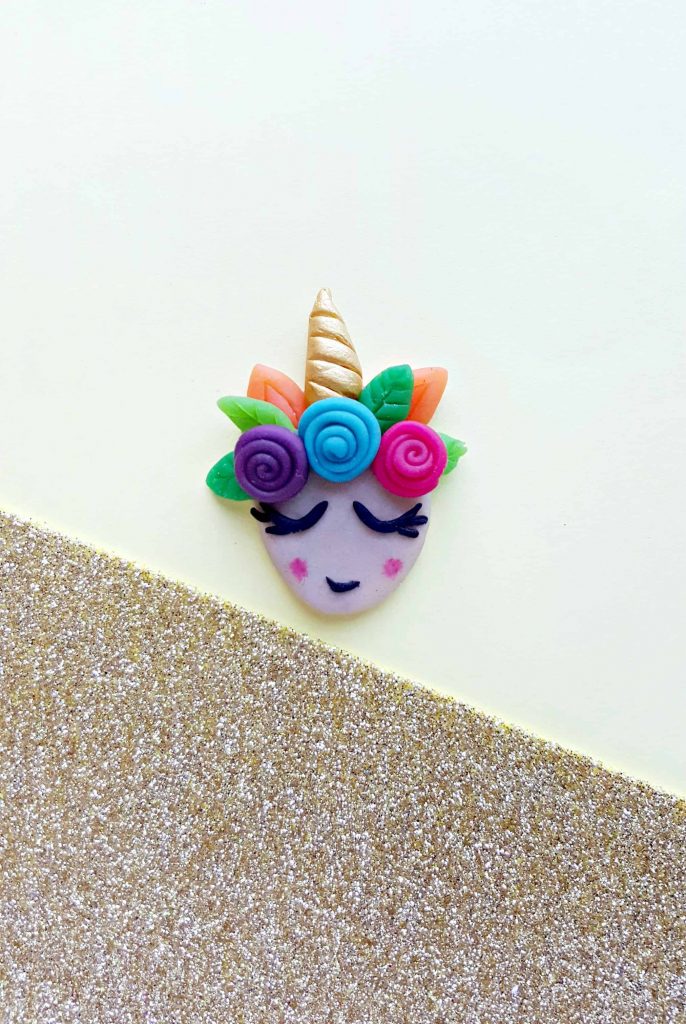
Looking for an easy clay unicorn craft? This clay unicorn is easy to make and easy to customize with different colors!
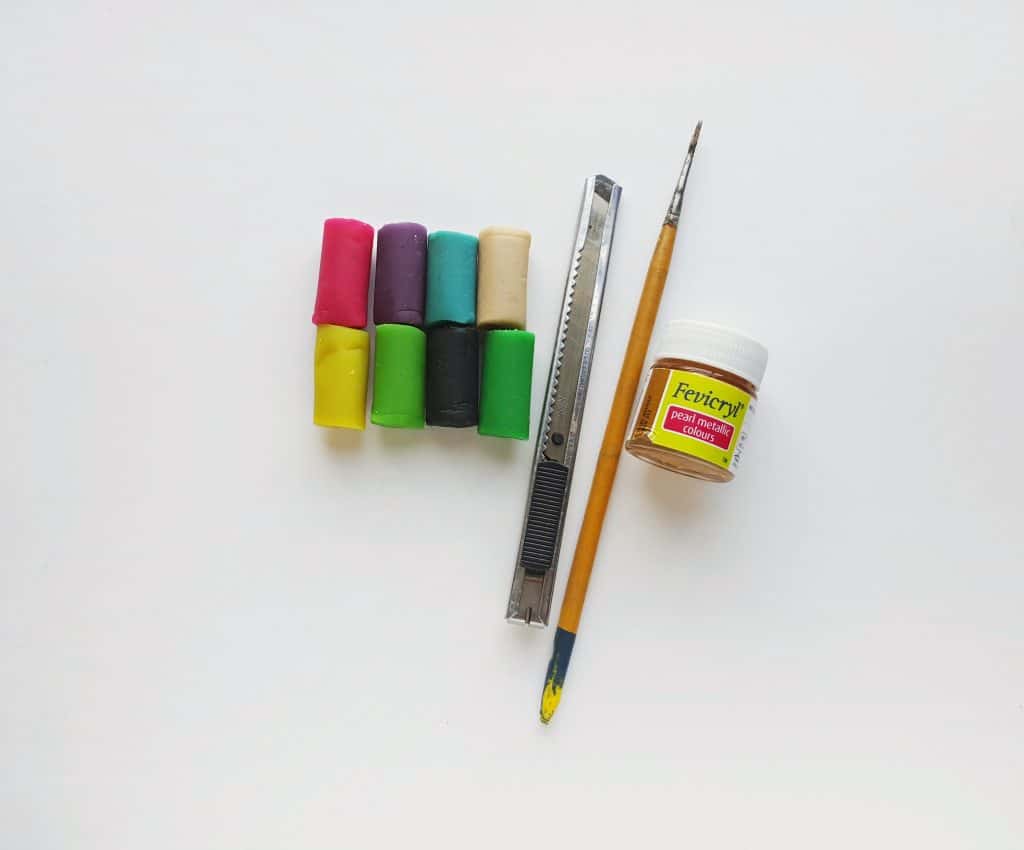
All you’ll need to make this magical clay unicorn is polymer clay, X-acto knife, acrylic paint, and a paintbrush. TiP: You can also turn this clay unicorn into a magnet by gluing on a small magnet to the back!
Scroll down for the steps to make this adorable clay unicorn that is a Perfect mommy and me craft!
List of Supplies:
1. Polymer clay
2. X-acto knife
3. Golden acrylic paint
4. Paintbrush
Instructions:
Step -1:
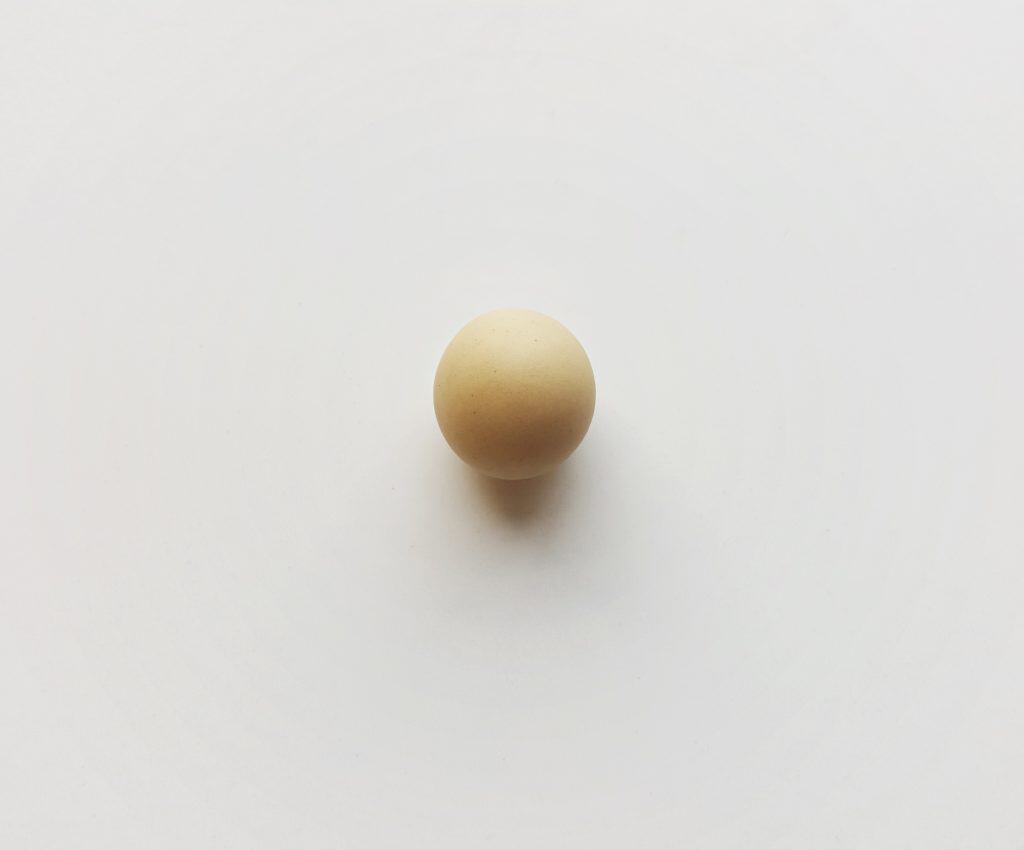
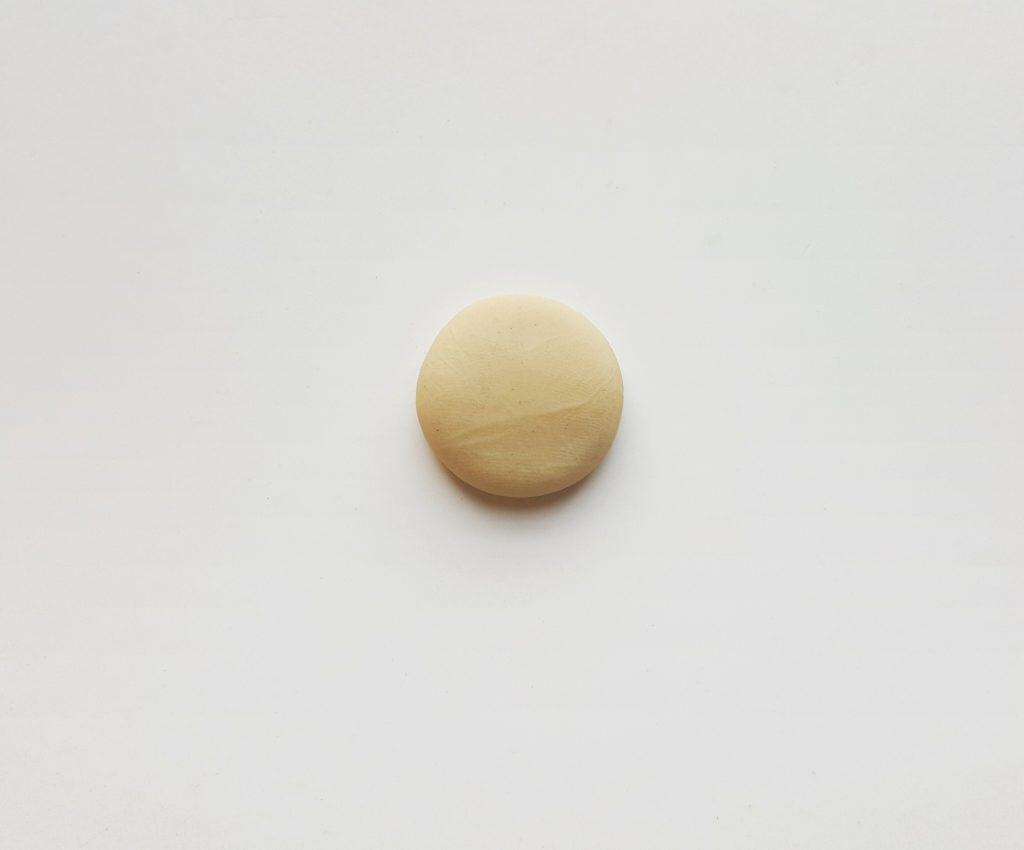
Select a clay color for the unicorn head. Use x-acto knife or any flat sharp object to cut out a slice of clay. Knead the clay with your fingertips and roll it into a ball shape.
Step -2:
Flatten the clay ball on a flat surface by pressing it with any flat and plain object; I used a mason jar lid.
Step – 3:
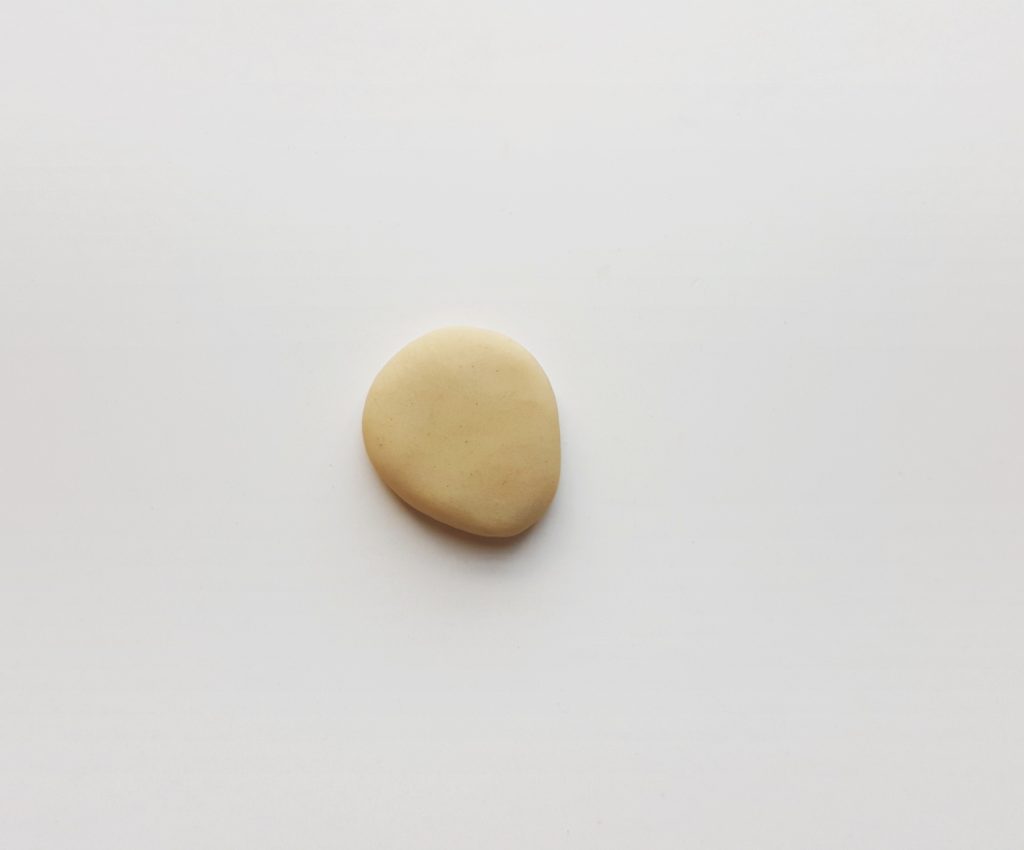
Carefully form an oblong shape with the flattened clay from the previous step with the help of your fingertips.
Step – 4:
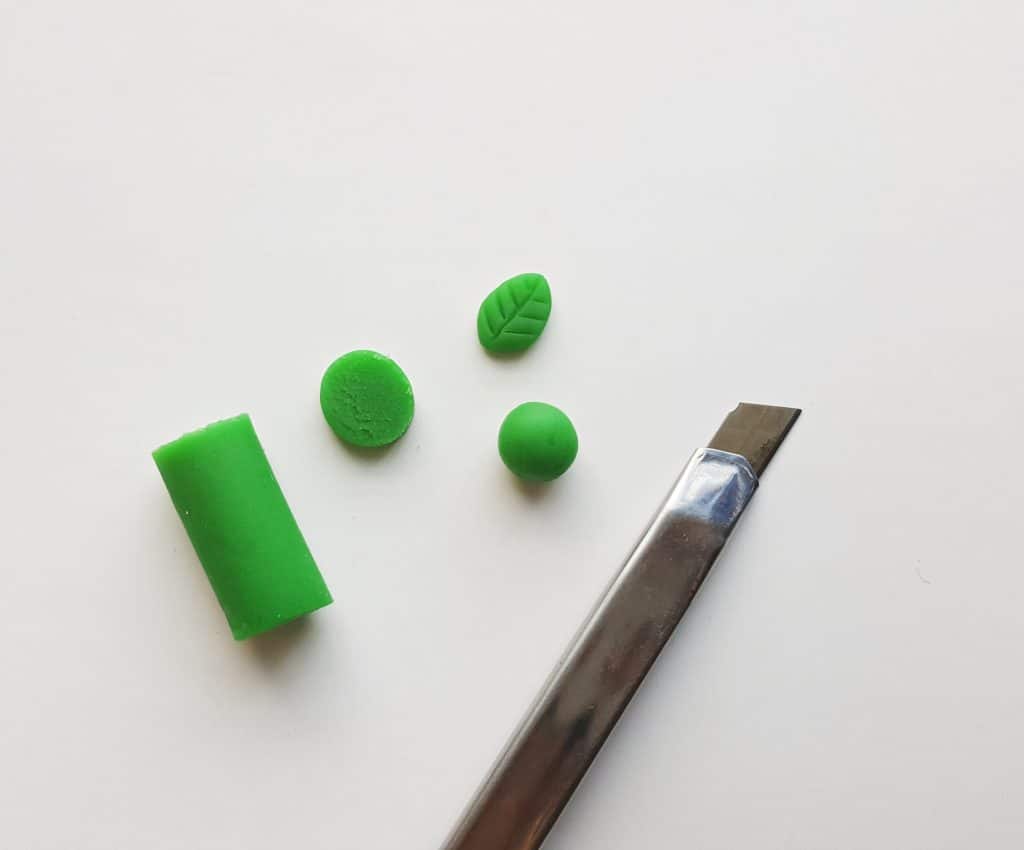
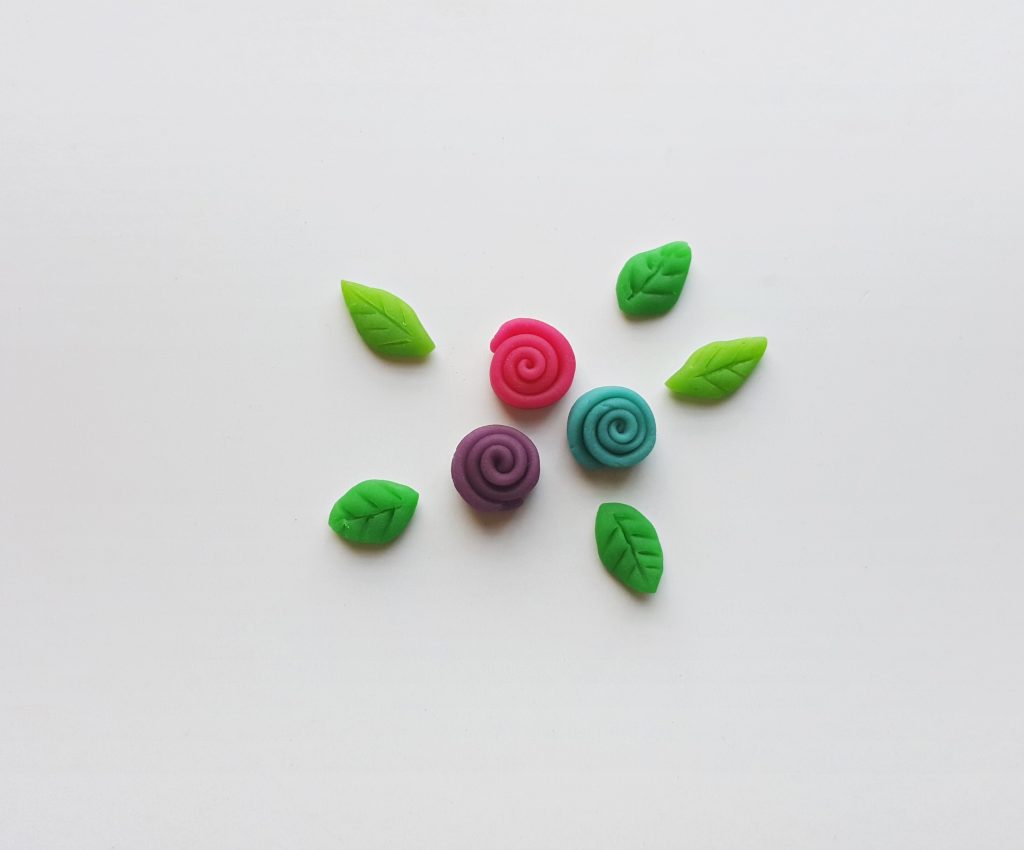
Take green colored clay and cut tiny slices from it (6 times smaller than the slice used for the head). Knead each slice to make a roll and then flatten the roll as we did before.
Form a basic leaf shape with the flattened clay and then use the back side of the x-acto knife to trace patterns on the clay leaf. Make about 4-5 clay leaves.
Easy Clay Unicorn
Step – 5:
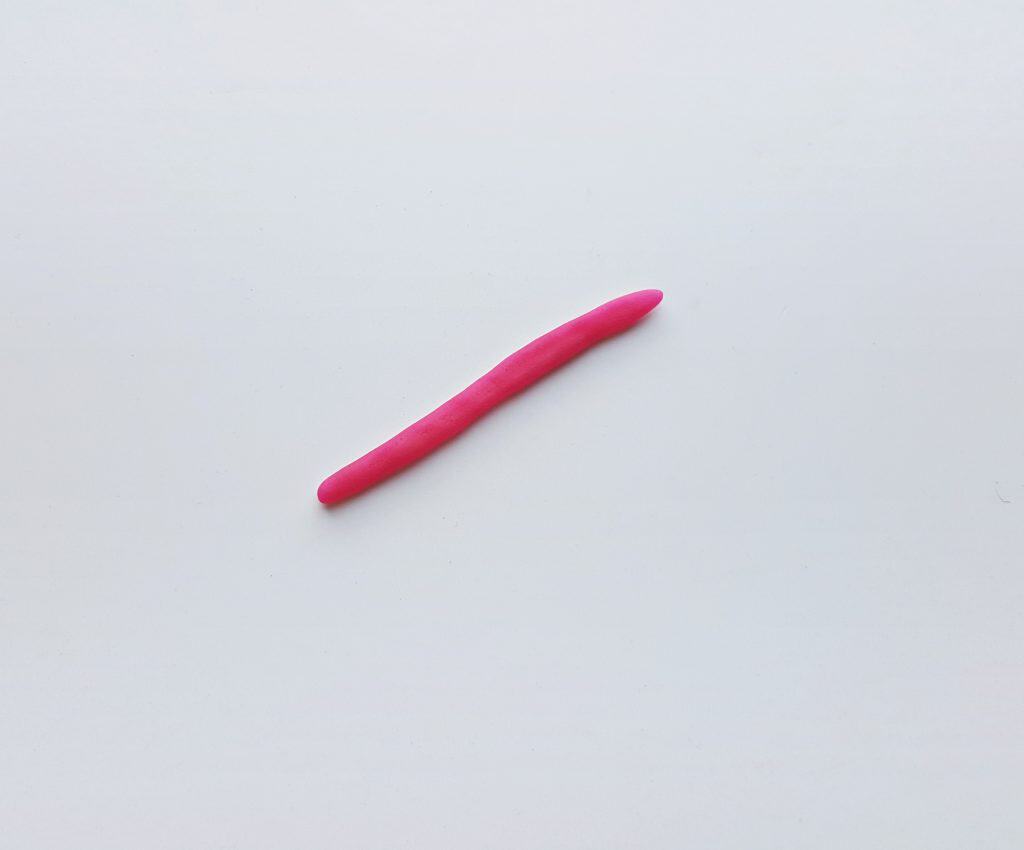
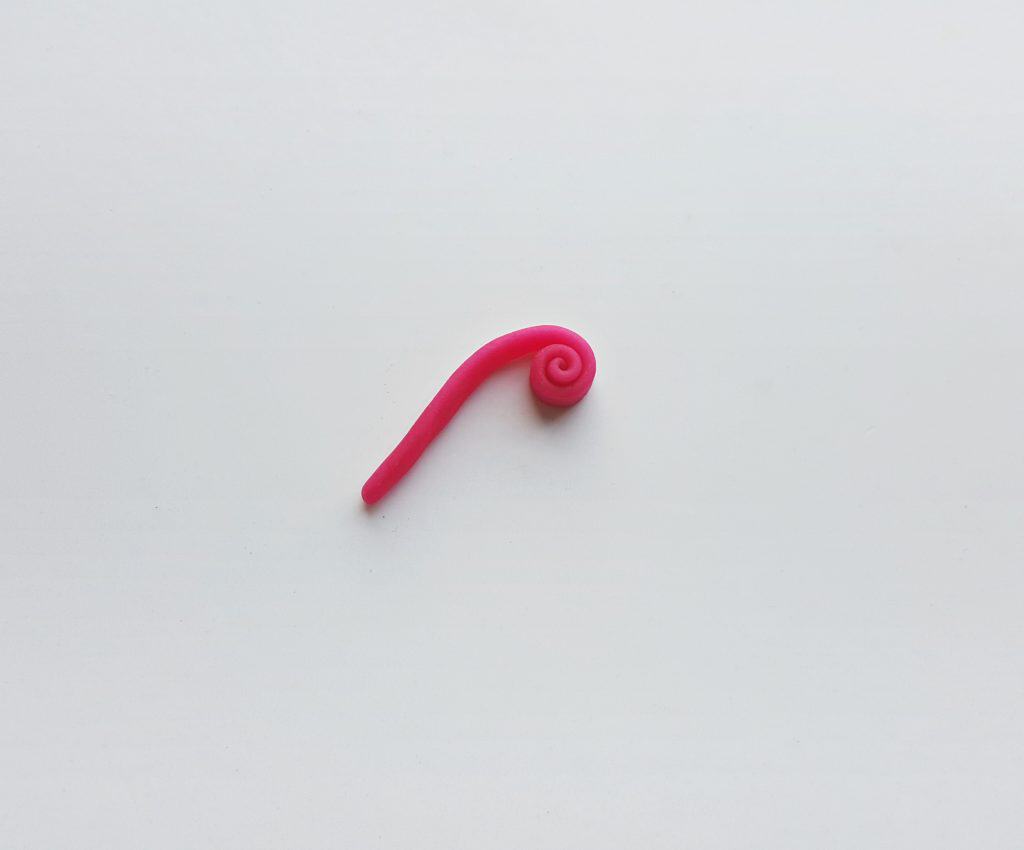
Select a color for the flower and cut out a slice of clay (same as the leaf slice). Knead well and then roll the clay on a flat surface until forming a pipe like pattern.
Flatten the pipe like pattern slightly against a clean flat surface.
Step – 6:
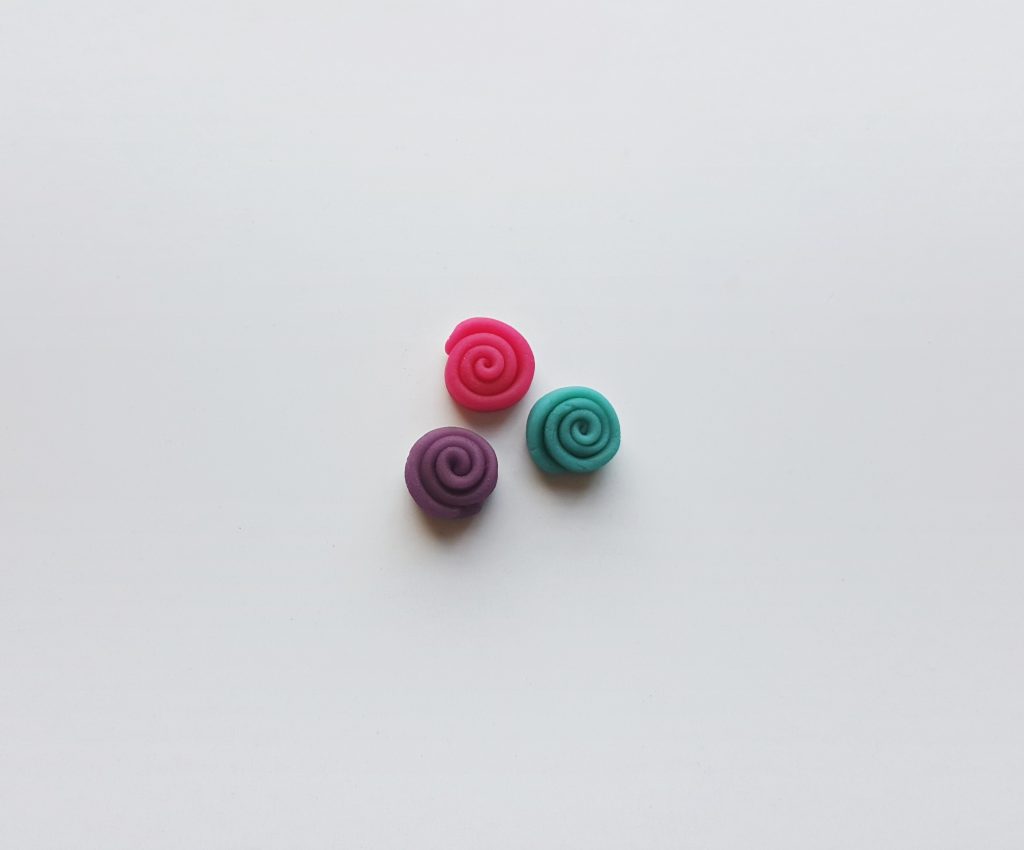
Start to roll the flattened pipe like pattern from any one end. Roll the whole pattern. After reaching the end press it against the rolled clay to secure the swirly clay flower pattern.
Step – 7:
Similarly, create 2 more swirly clay flowers using 2 different colored clays.
Step – 8:
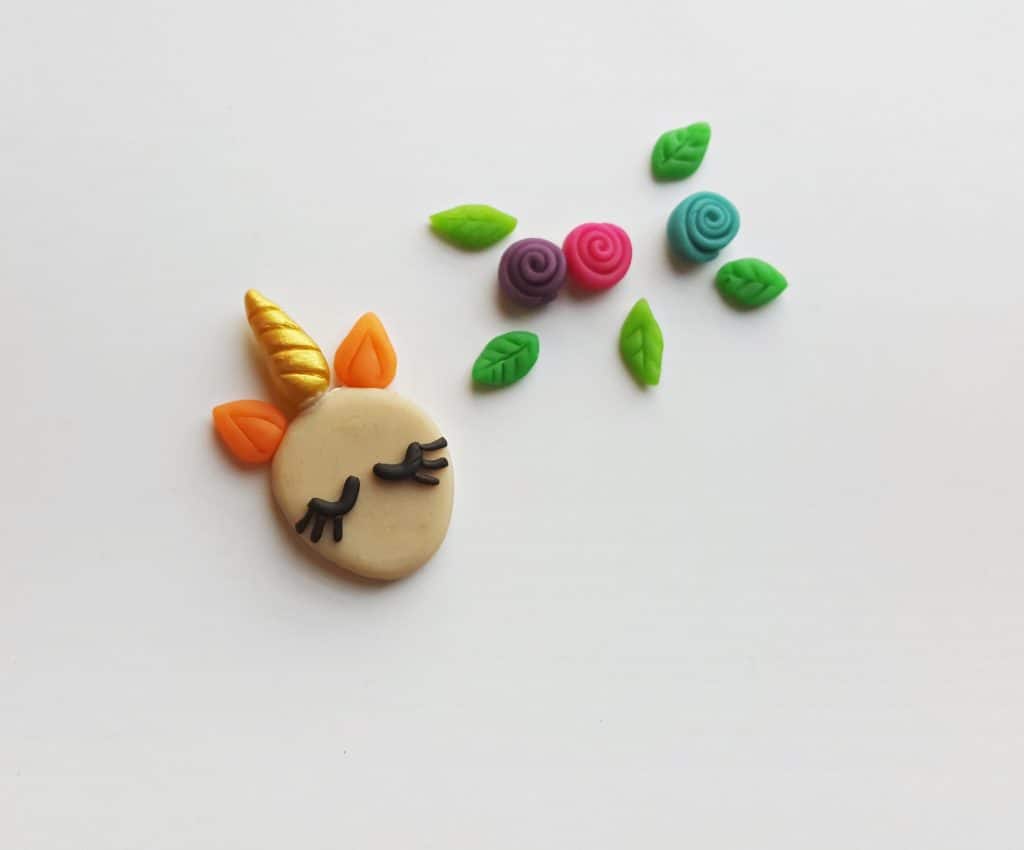
Flowers and leaves ready? Let’s go to the next step.
Step – 9:
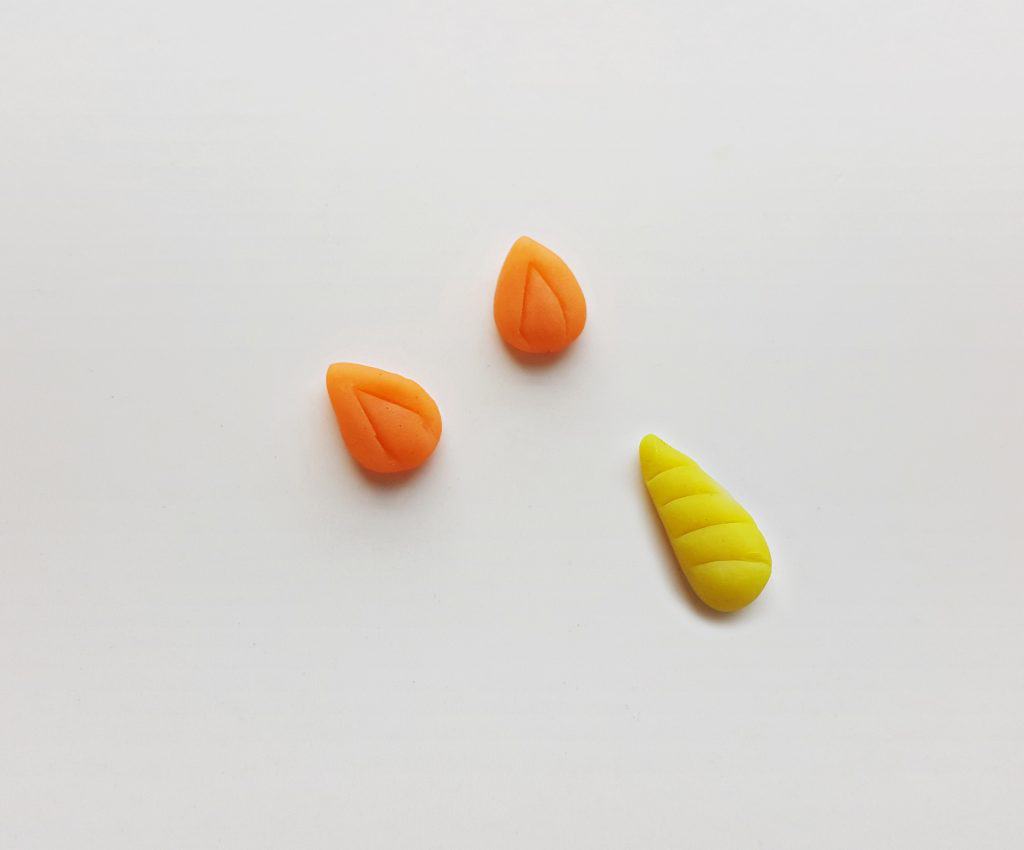
Cut out 2 same sized slices (same amount used for the flowers and leaves) of clay from any colored clay you want and form the ears of the unicorn.
Cut out a slice 2 times more than the amount used for the ears and form the horn pattern with it. Use the back side of the x-acto knife to trace patterns on the ears and the horn.
Step – 10:
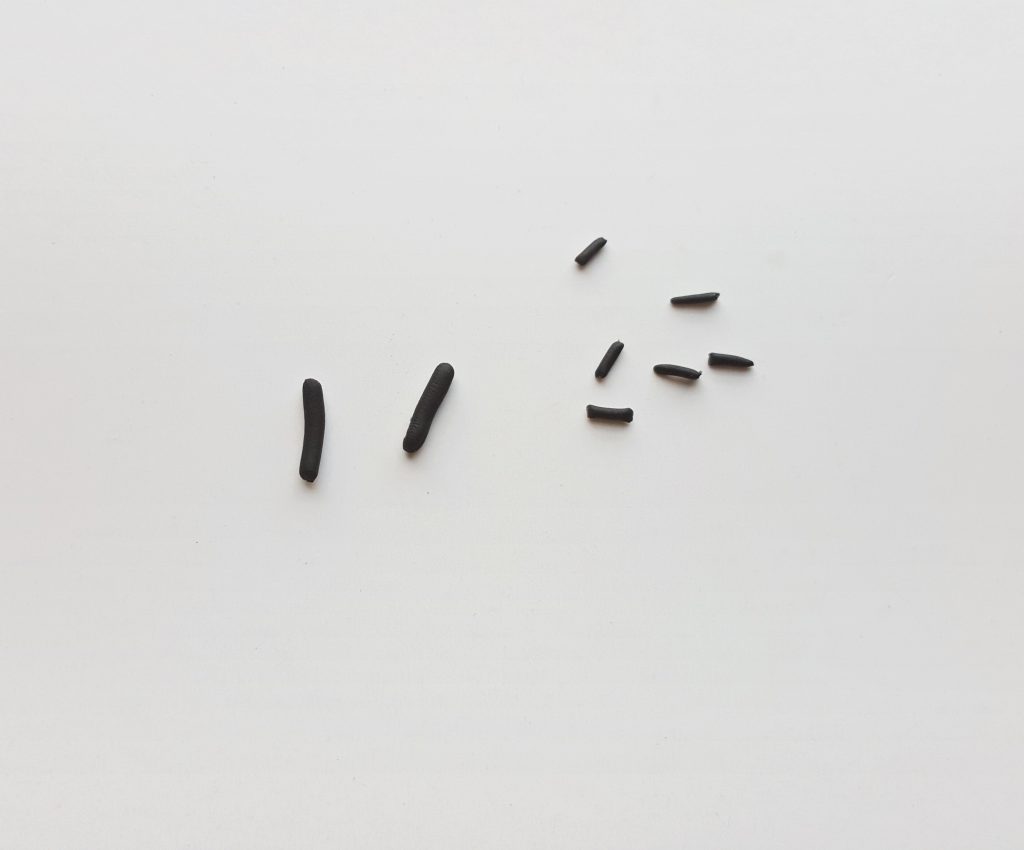
Cut tiny slice of black clay (this amount may vary). Knead and roll the clay to create a pipe like pattern. Cut out 2 same sized pieces from the black clay pipe for the unicorn eyes. Cut out 6 thinner pieces but relatively of smaller length than the 2 previous pieces.
Easy Clay Unicorn
Step – 11:
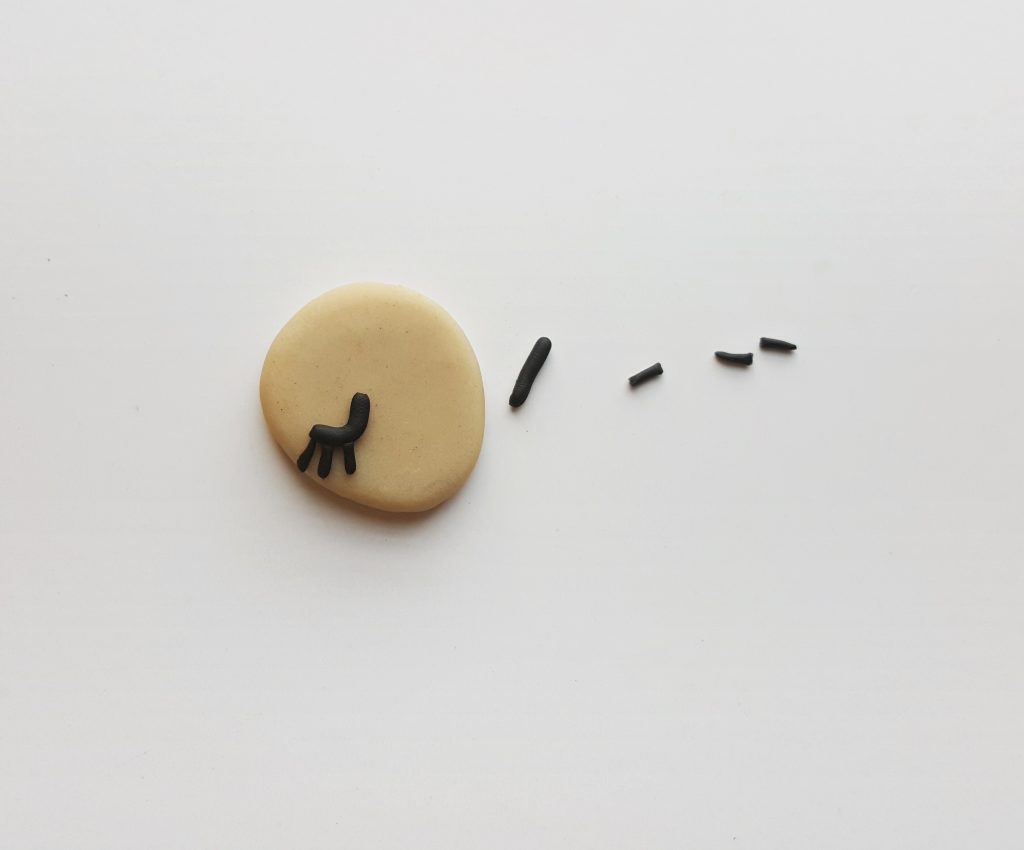
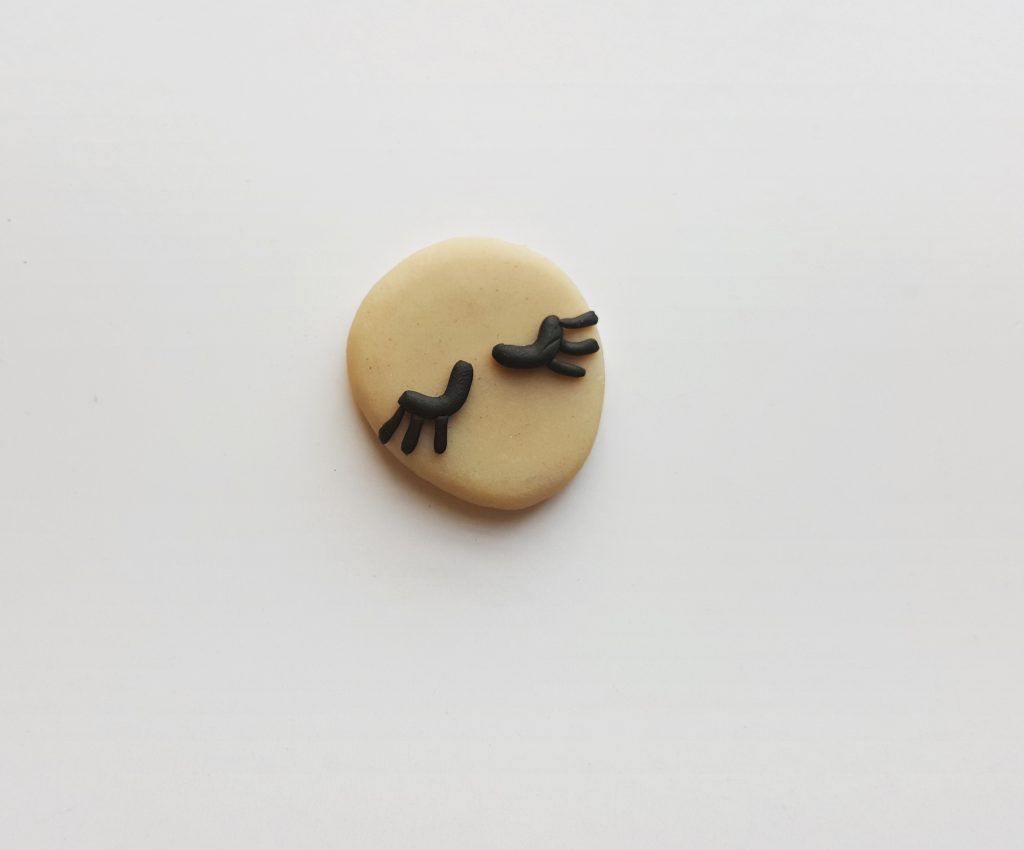
Attach the pipe cutouts to form the eyes of the unicorn. Slightly curve the 2 big pipe cutouts to form the closed eyes of the unicorn. Attach 3 thinner pipe cutouts adjacent to the big curved pipe to form the eyelashes of the unicorn.
Step – 12:
Similarly form the other eye of the unicorn.
Step – 13:
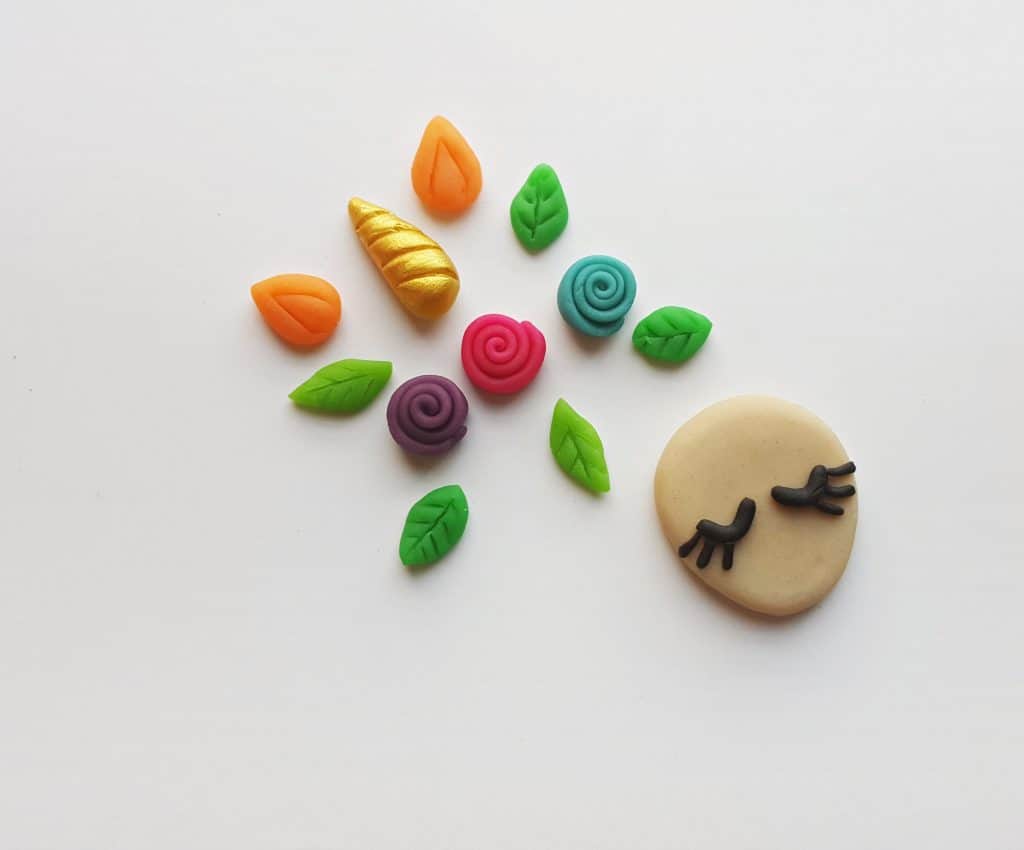
Grab all the prepared items and get ready to complete the clay unicorn.
Step -14:
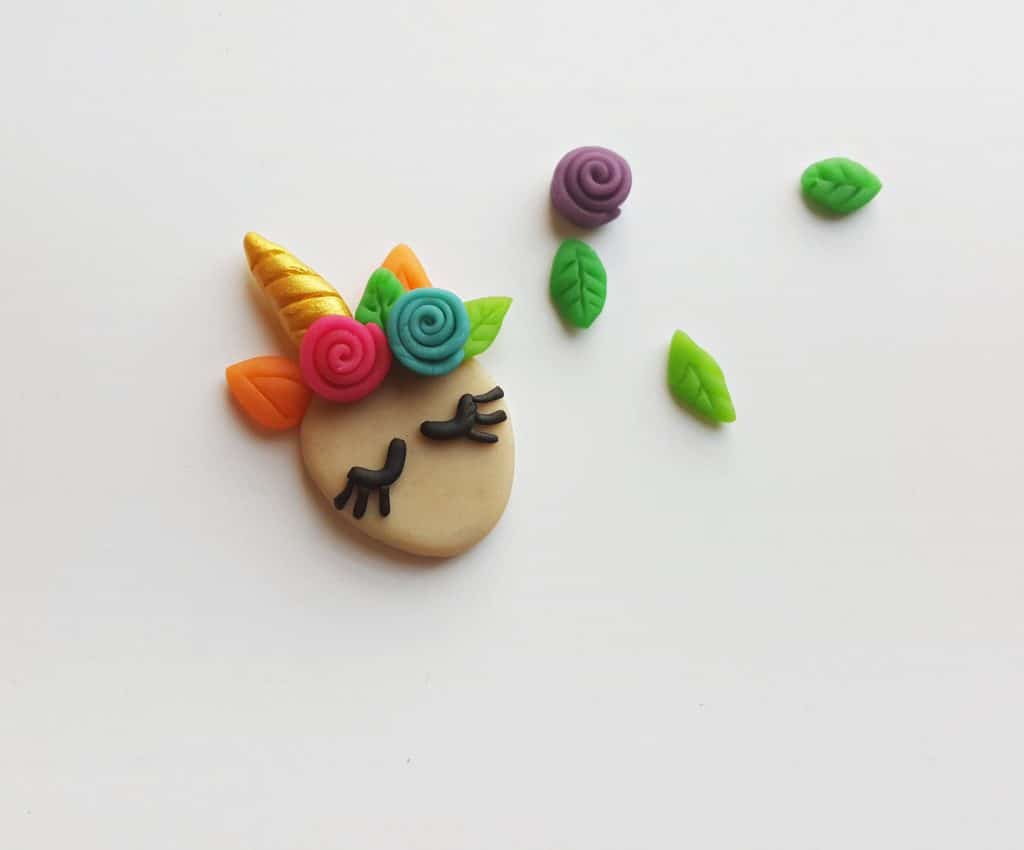
Attach the ears and the horn on the top end of the unicorn head. Press gently.
Step – 15:
Attach the leaves and the flowers one by one on the top front side of the head.
Step – 16:
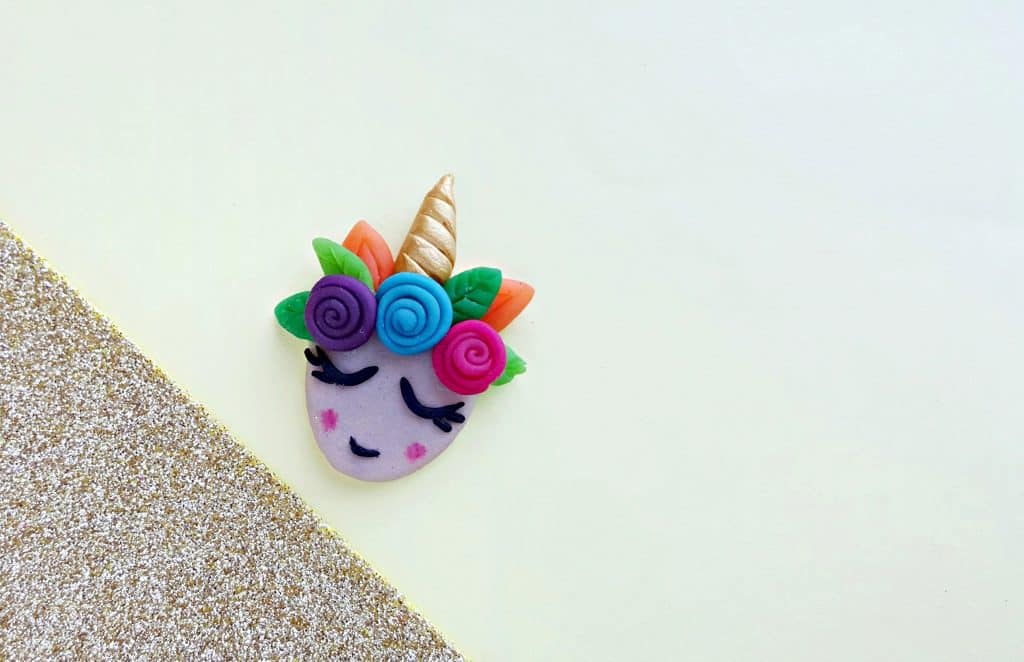
Use a small piece of black clay pipe to create the lip pattern of the unicorn and use pink highlighter to draw 2 blush patterns on both cheeks. Bake the clay unicorn according to the instructions given with the clay package.\
Done!
Pin for later!


