

This shop has been compensated by Collective Bias, Inc. and its advertiser. All opinions are mine alone. #BacktoBabyBasics #CollectiveBias
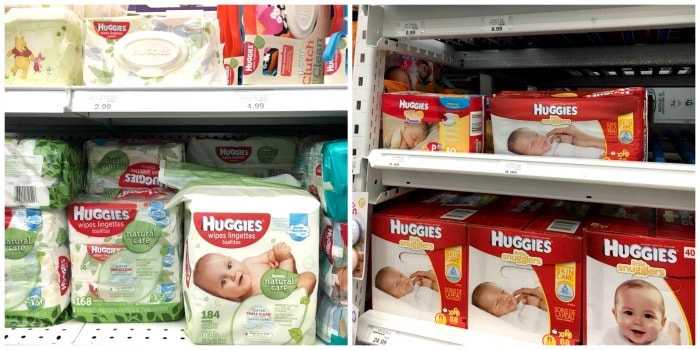
Finding out we were having another girl was surreal! I mean, after having five boys, who would have thought I’d have TWO girls, especially this close in age. Believe it or not, I’m super excited about that. The thought of Olivia having a little sister as a best friend is exactly what I want for her! I often wonder if she will be just like Olivia, who’s very easy going and only fusses when hungry, sleepy or needs diaper changes. What I’m not hoping is that my next baby girl does not have is extremely sensitive skin. I know this time, if she does, I will take precautions from day one and use products that I know I can depend on, like Huggies Natural Care Wipes. Since having Olivia, I’ve been carrying them in my purse, baby bag and even have some in my car just in case I need them, which I always do! ~~ See easy to make DIY framed stuffed animal below!

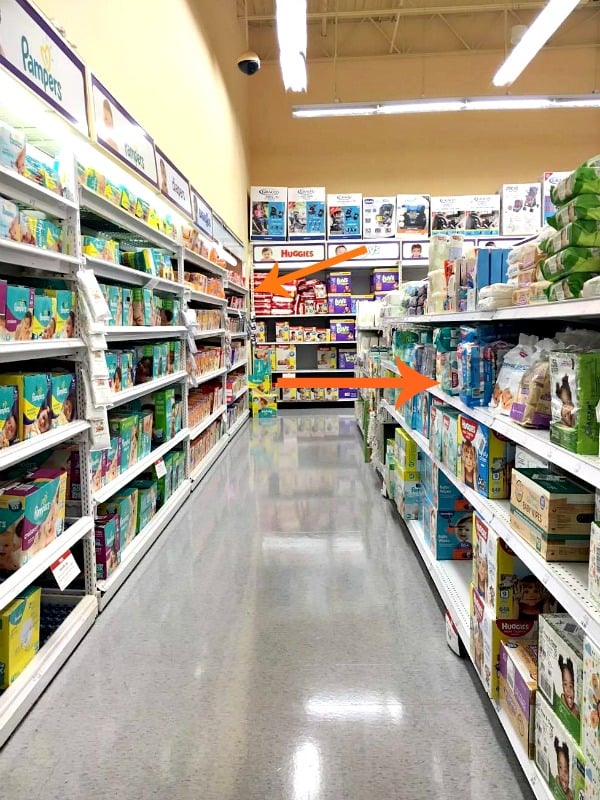
I’m almost 18 weeks and since we are a super busy household, I am already stocking up and buying Huggies Natural Care Wipes at Babies “R” Us. I even grabbed my baby girl her first pack of Huggies Little Snugglers (now available nationwide) that Olivia still wears herself! Going to Babies “R” Us is SO much more fun than shopping online because they are more than just a retail destination, they literally have all your baby needs covered; swings, cribs, toys and tons of clothes. They’re all super cute too! In case you’re wondering, yes, I did walk out with some outfits and even shoes for Olivia. I couldn’t help myself and since I know I can hand them down to her little sister, I don’t feel as guilty when I buy her a ton of stuff or make this DIY framed stuffed animal.

Did you know Babies “R” Us has in-store Baby Basic classes? These in-store classes are hosted by a local community medical partner, who will teach new and expectant parents how to care for a baby during the first 6 months of infancy. From bathing to diaper changing and more!! **Check your local store (click here to find a store/event near you) for class availability and times.

Now, along with prepping with Huggies Natural Care Wipes and Huggies Little Snugglers, I’ve also been busy decorating the nursery for Olivia and her little sister. I wasn’t sure what theme to go with, but I was sure that I wanted to make as many little decorations as I could. My first one up: DIY framed stuffed animals. A great way to up cycle those unused stuffed animals you have laying around the house. See my super easy DIY below!
DIY Framed Stuffed Animal
What You’ll Need:
Stuff Animals
Frames that ft the stuffed animal. * I bought a 8×10
Glue gun and glue sticks
Scissors
1/2 yard of fabric
Stapler
How To:
Remove glass from frame, wrap fabric around the frames back and staple.

Place back piece back into frame.

Add glue to stuffed animal top to bottom **If your stuff animal doesn’t have a smooth back you can easily cut off the back edges and glue on the edges.

Hold firmly in place until dry and hang!


It’s that simple and this DIY framed stuffed animal looks just as good if not better than those expensive stuffed animal heads they sell in stores.
Get Social: Follow along on twitter @Babiesrus & @Huggies, Pin along on Pinterest, or like on Facebook ( Huggies & Babies “R”Us) and Instagram @Babiesrus.
Aww, this is a great way to decorate with stuffed animals!!! Love it! I like the fabric backdrop you’ve used as well!
What a brilliant idea for decorating a nursery. I lvoe this so much. Plus it is easy enough i can do it.
OMG! I love this idea! My son would never have it now, but if I had done when he was a babe this would have been a hit. Awesome decorating tip and so easy!
Well how cute is that. We loved buggies for our kids and I still live by their wipes. Best on the market if you ask me
Aww, this is an amazing way to decorate with stuffed animals. I like the fabric backdrop you used!
Thanks! I bought a few yards on clearance for probably $5 at Hobby Lobby and I’ve already used in a couple of projects!
Congratulations on adding another girl to the family (soon)! Your DIY Framed Stuffed Animal has given me some decorating ideas for my granddaughter. She loves kitties so I can picture a kitty on the wall near her crib. 🙂
What a neat tutorial! I have not seen this before! So cute! #client