Just about three weeks left for Halloween! This easy pumpkin treat bag craft idea is a fun way to store Halloween treats! Scroll down for easy steps to make it and the template to make it!
Easy Pumpkin Treat Bag Craft

Get crafting with the kiddos and make these easy Halloween treat bags that are perfect for treats that need to be prepackaged for a classroom! You can even use these adorable treat bags to hold Halloween candy bark!
Supplies:
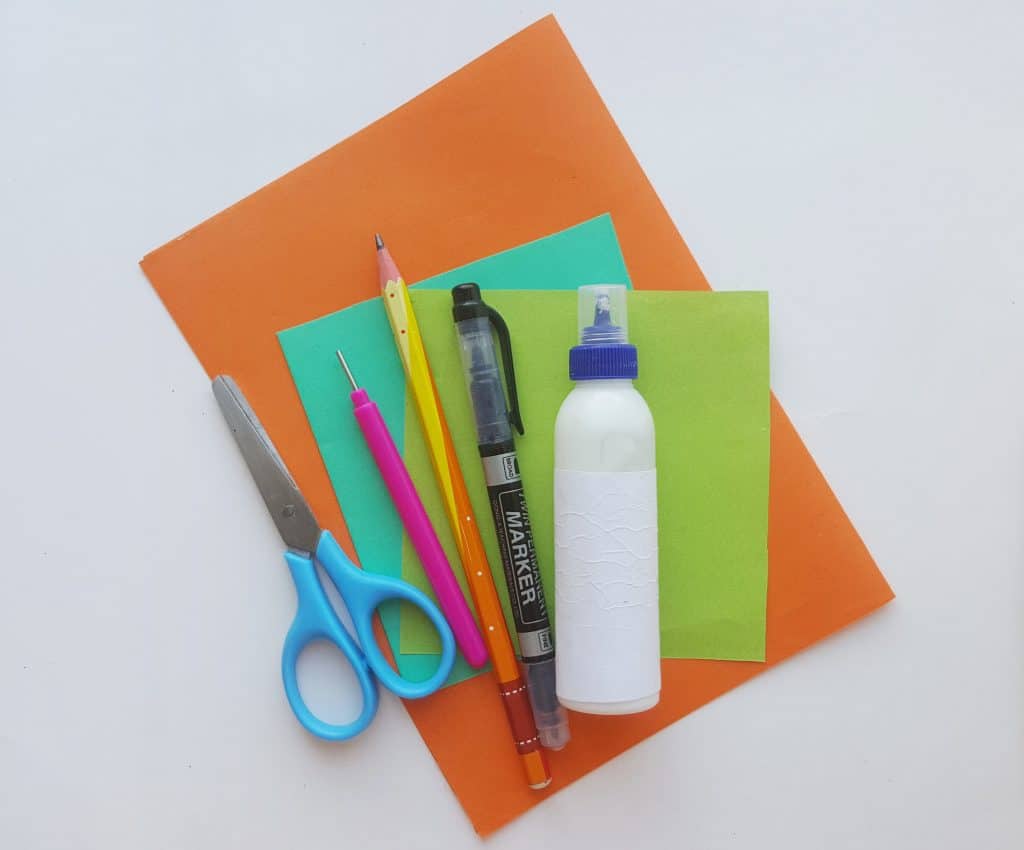
1. Colored craft paper – orange, green and yellow
2. Craft glue
3. Scissors
4. Pencil
5. Slotted quilling tool
6. Black sharpie (optional, in case you want to draw the eyes)
7. Template (printed)
Easy Pumpkin Treat Bag Craft
Instructions:
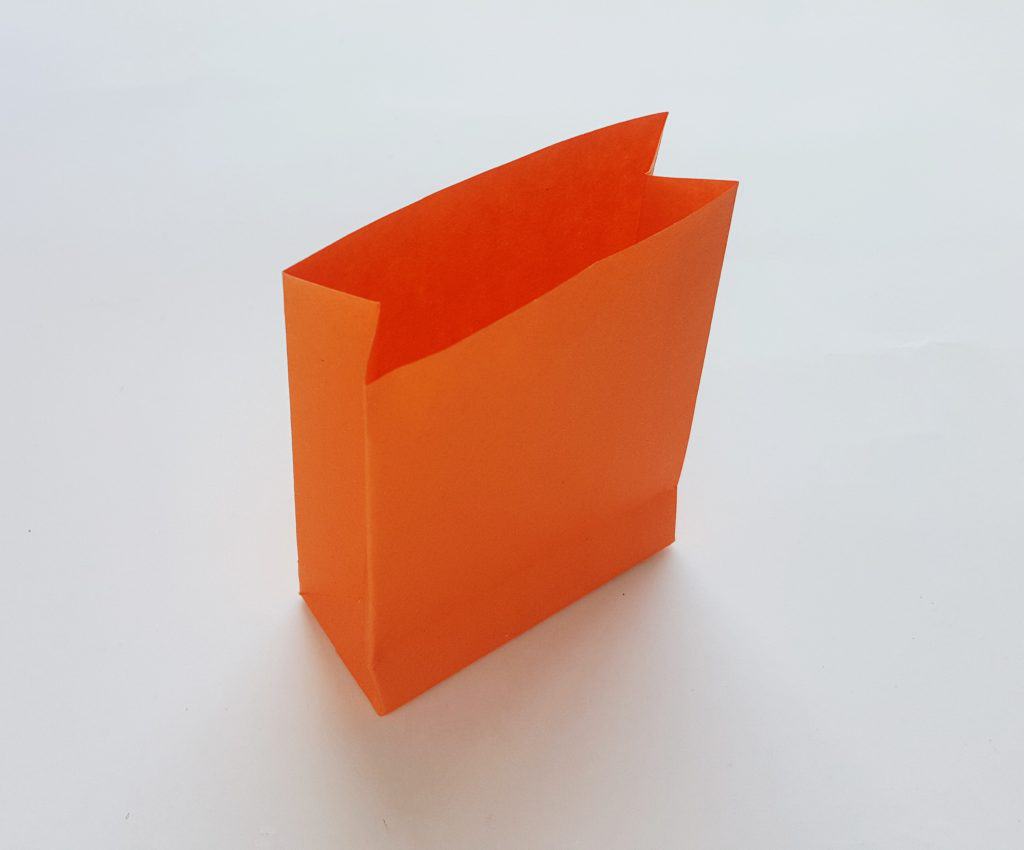
Select orange colored craft paper and prepare the paper bag. Optional: Store-bought paper bags for this craft or make a custom sized bag.
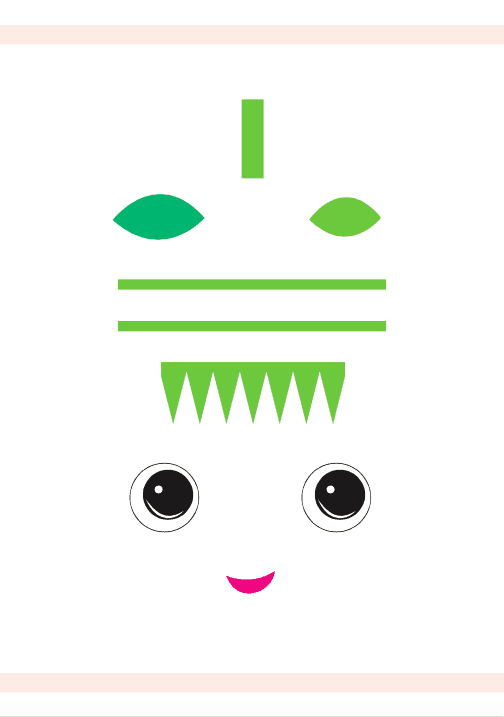
Print out the leaves and other items from the colored template or print out the blank patterns and trace them on the craft papers of your choice. Make sure to customize the size of the template patterns for the bag before printing them.
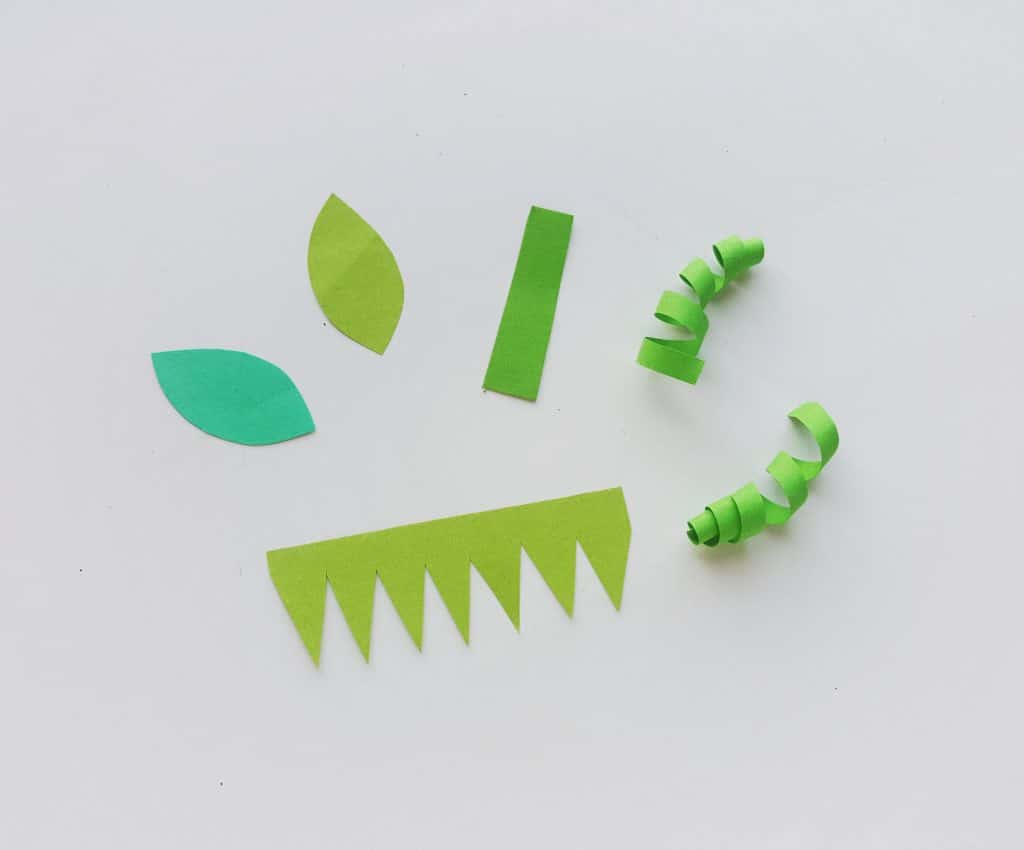
Use craft glue to stick the prepared items on the bag. Take stem and glue on the middle of the paper bag’s open end. Glue the bottom part of the stem along the border of open end (of the paper bag).

Glue the leaves on both sides of the stem. Use slotted quilling tool to create the vines from thin paper strips. Glue them on either sides of the stem.

Draw the eyes on 2 round cutouts from white paper or simply print out the eyes from the template.

Stick the eyes on the top side of the paper bag. Now attach the mouth to complete the pumpkin face.
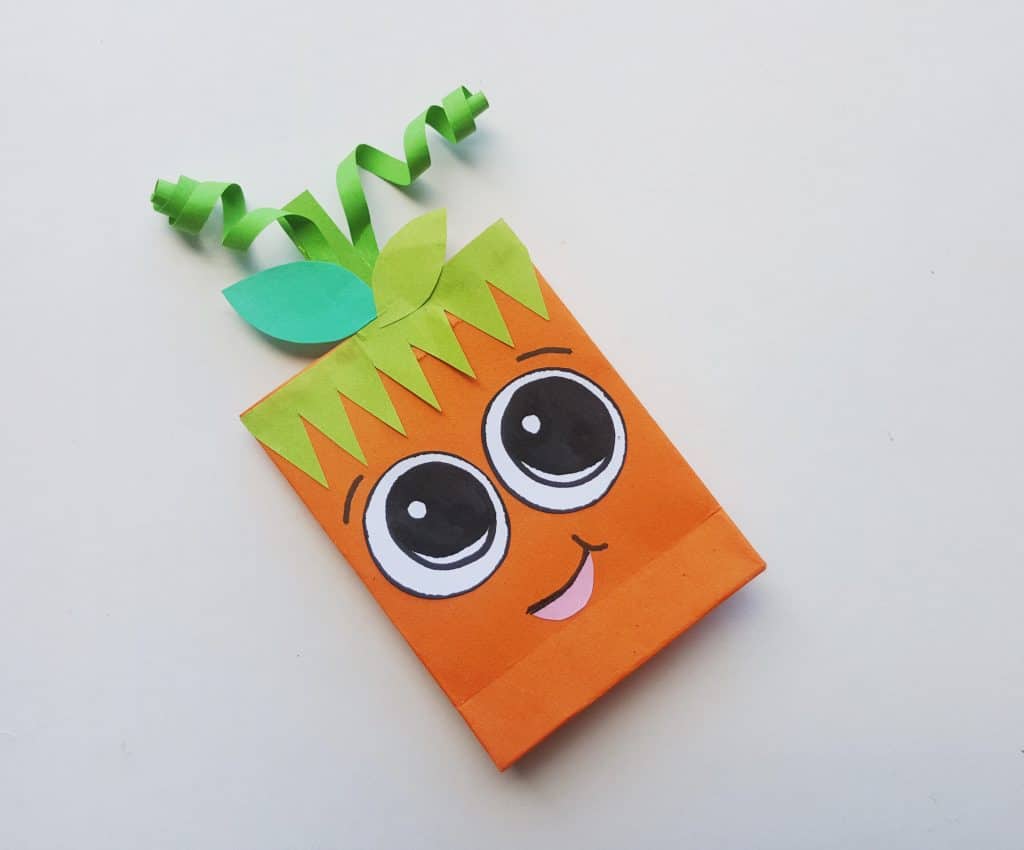
Add more details if you want to and then allow the glue to dry. Click here to download the blank template to color or click here for the colored version.
Enjoy!
Pin for later!

Templates **click image to download

More Halloween Printables!
Three free Halloween printables!