

This shop has been compensated by Collective Bias, Inc. and its advertiser. All opinions are mine alone. #nothinglikeahug #CollectiveBias
The busiest time of the year is officially here! While I’m excited for all the gatherings, shopping and the eating of all the yummy food, I also know that I need to be prepared! Running to and from the stores whenever I run out essential items I need for the babies are a total time sucker for me, especially during the holidays where I have to make the most of my time. That’s why I rely on my Sam’s Club runs, where I can always get more bang for my buck. When I’m with the kids, I use their super convenient pick-up service, but the hubby prefers the equally fast scan-and-go option. I always stock up on my favorite wipes from a brand that all moms can trust; Huggies® One & Done Wipes (right now you can get free shipping on wipes) & Huggies® Little Snugglers (the best fit that holds the diaper in place during active play). Scroll down to see my DIY nursery room organizer.
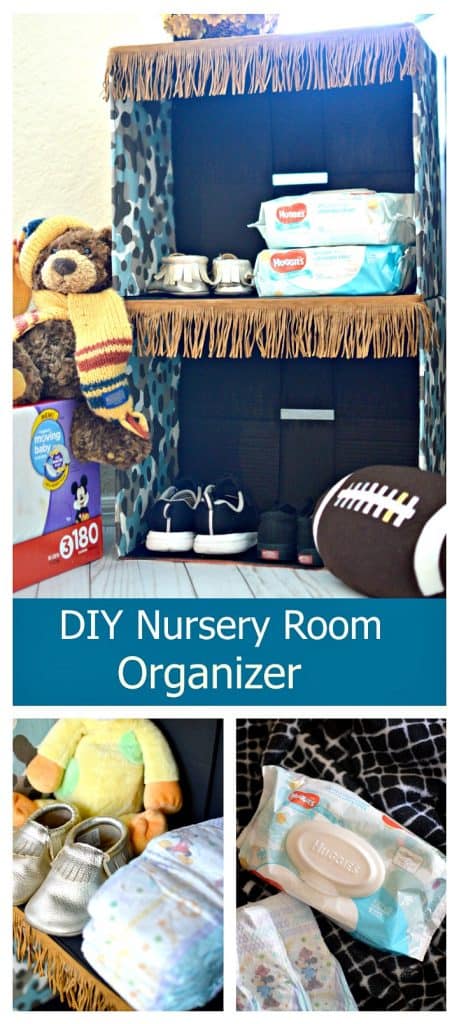
Stocking up is essential, but once I get everything home, the last thing I want is to have everything unorganized. I love DIY’s where I can reuse items for good use, and in this case, those roomy Huggies One & Done boxes are perfect to make a DIY nursery room organizer. They can also be used for shoes, diapers, and even wipes! It’s a handy catch all that can be kept by the crib, on top of a dresser, or even since it’s light and portable, you can move it to another room to keep your baby items more accessible. Hover over the image below to shop!
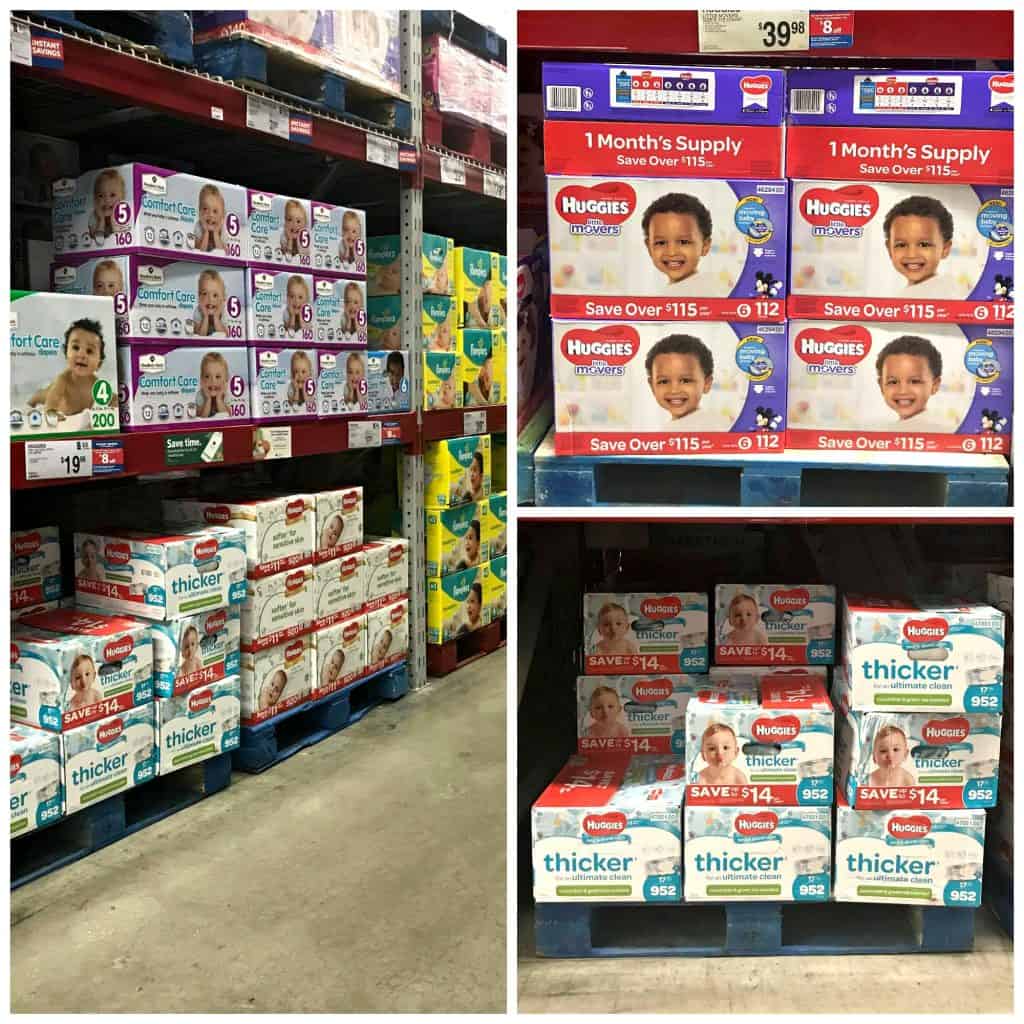
Every little bit counts when you have a large family like mine, and I’m totally taking advantage of Sam’s Club low prices by shopping at Sam’s Club! Right now, when you buy any two Huggies® items at Sam’s Club, you get an instant savings of $8 (valid 10/25-11/22).
See below for the full tutorial.
DIY Nursery Room Organizer
What You’ll Need:
Two boxes of Huggies® One & Done Wipes
2-3 yards of fabric **You’ll only really use about 1 yard but it’s better to have extras just in case.
Fringe trim
Glue gun and fabric glue sticks **You can also use staples
Box cutter
Black spray paint **Any will do but I found the chalk board spray paint gave it the best finish. You can also write fun little notes on it.
How To:
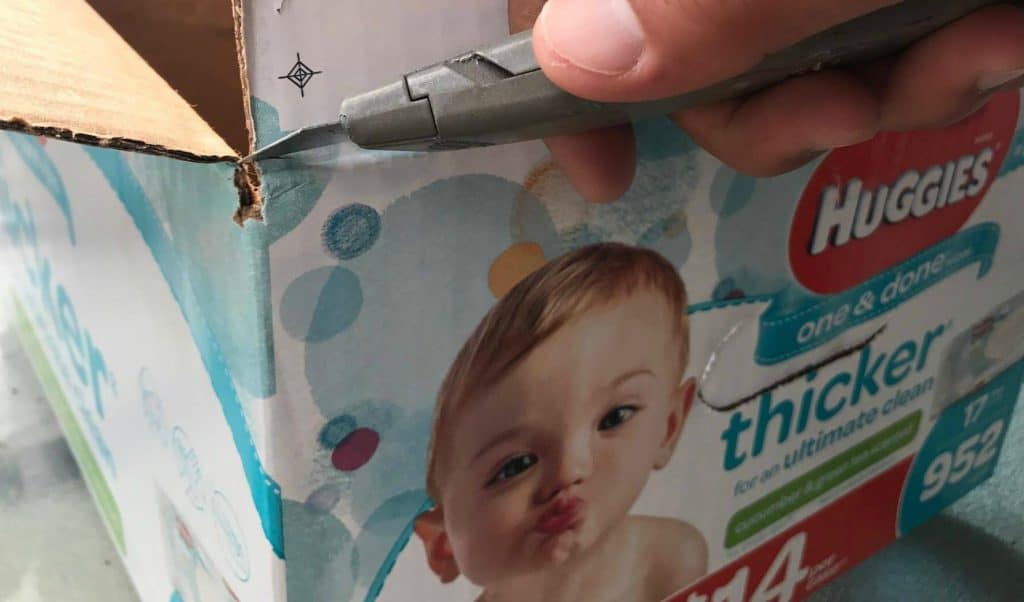
Cut off the top flaps of the boxes with a box cutter
Spray paint the boxes and let them dry. **To use less fabric just spray paint the back.
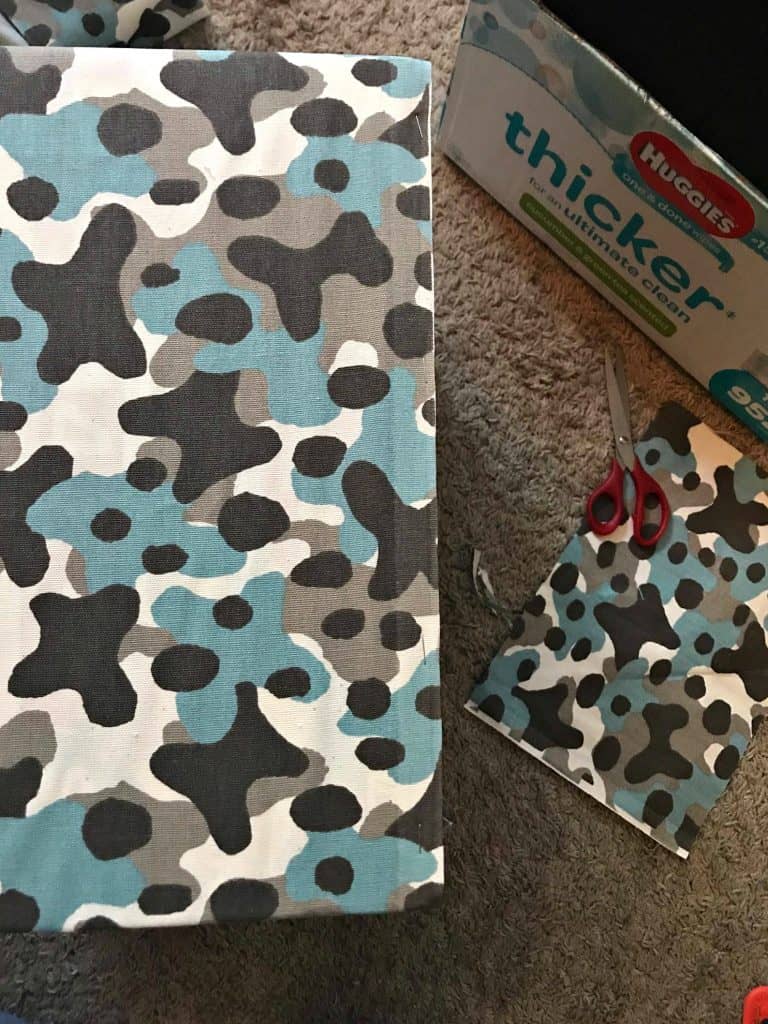
Measure the fabric along the sides of the box and cut. You’re basically going to be cutting a long strip and then gluing it on to the to the box. **Measurements don’t have to be exact. If you have any extra fabric just tuck under box and glue in place.

Now take your glue gun and add glue to sides of box and slowly smooth out the fabric over the glue. Repeat all around.
Optional: Measure the four sides of the inside of the boxes, cut the fabric, then glue it in place. FYI – I chose to measure additional fabric to the insides because it gave a nice finished look, but it was a bit time consuming.
![]()
Now, add glue in-between the bottom of one box and the top of another and glue together. **Place something with weight inside the top box to hold it in place.
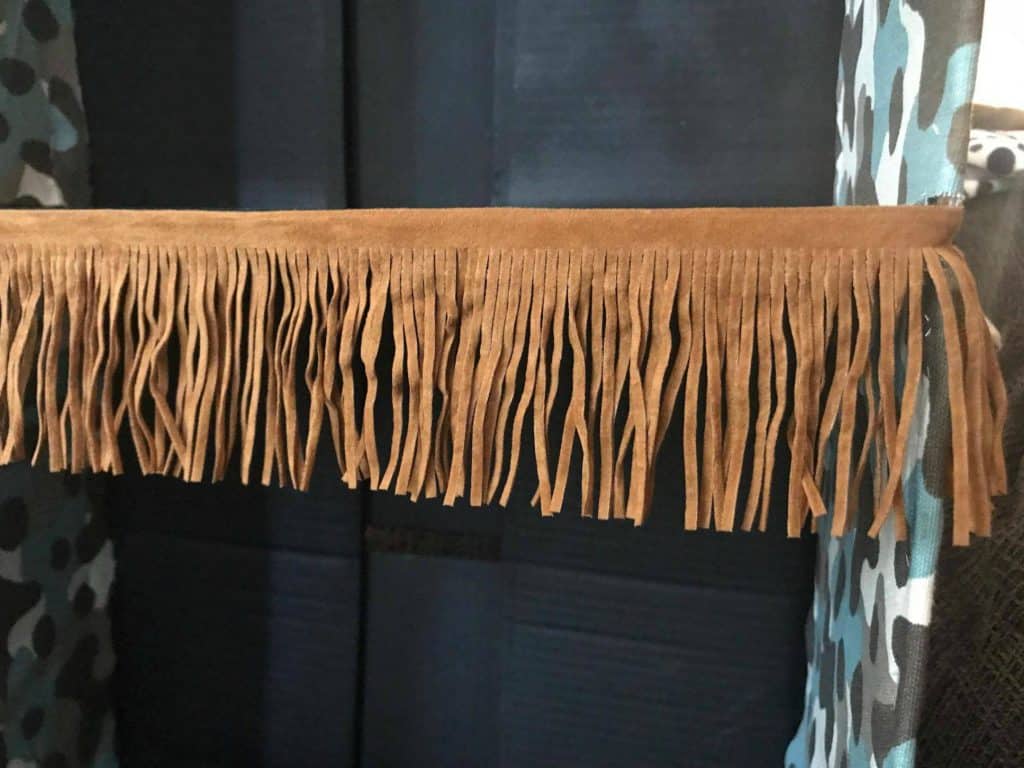
Take the trim and measure it along the front of the boxes, cut and glue in place, and voila! **If you’re tempted to go all the way around the box, keep in mind that I tried it and it looked too excessive, but with plain fabric it might work.
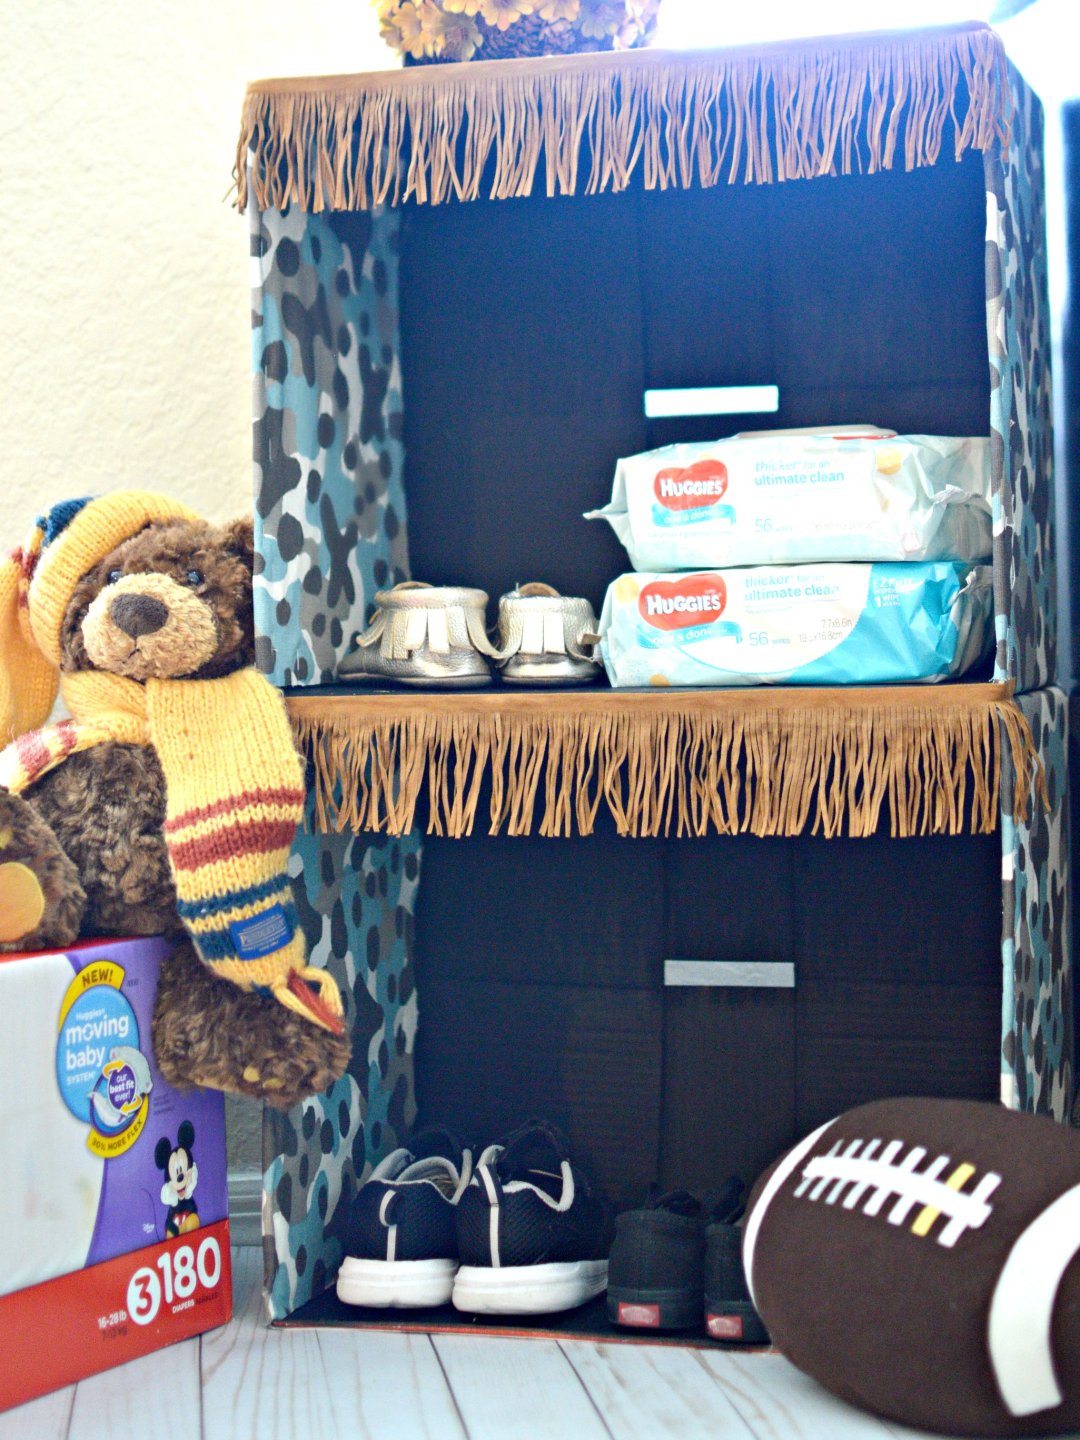
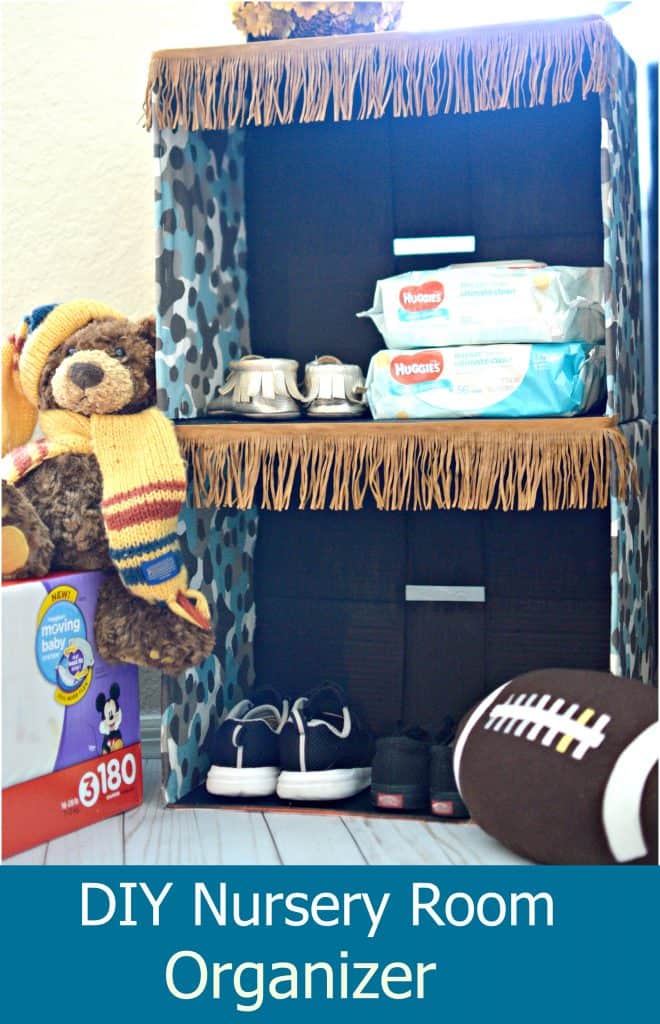
DIY Nursery Room Organizer
![]()
Isn’t it cute!?
Are you ready to discover the best value on Huggies® Diapers and Wipes for your growing family at Sam’s Club ? In addition to the instant $8 savings I mentioned above, you can also get an additional $4 savings through Ibotta when you buy Huggies® at Sam’s Club. Save both time and money when you shop so you can spend more on those important moments with your family. It’s a win-win!
I made a few of these when my boys were small and they are still holding up great! #client